Keeping your Mac up to date is essential. Macs that are part of COC will automatically check and download minor updates. To update to a new version of macOS (ex: v15 Sequoia to v26 Tahoe), there are two ways that you can upgrade on a Mac.
Before updating your computer, make sure the following is complete!
- You have a backup of your documents and data from the Mac you are about to upgrade.
- If upgrading a laptop, make sure that it is plugged in and is charging.
1. Self Service
The first and preferred way to upgrade macOS is through the Self Service app that is installed on your Mac.
If you are on the Mac you are upgrading, click here to open the Upgrade app for you automatically.
| OPEN SELF SERVICE FOR ME |
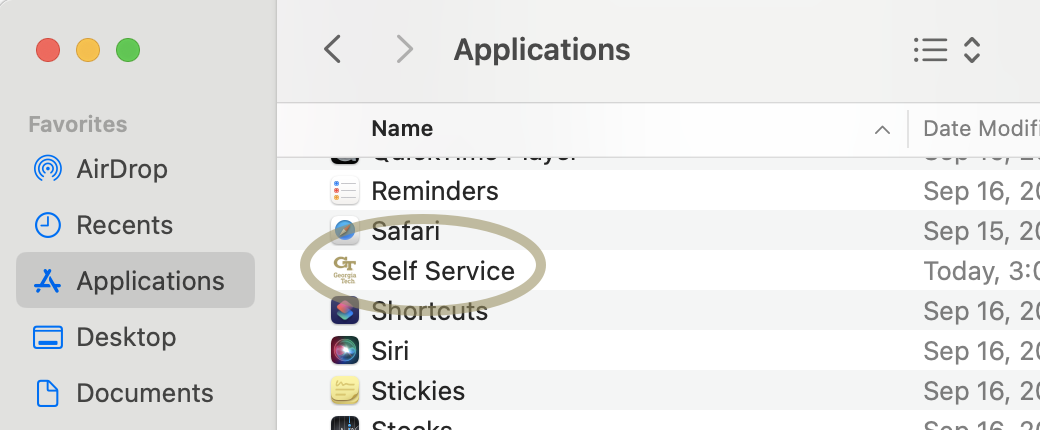
1. Open the Self Service app via Launchpad, Finder, Spotlight Search, or the button above.
2. Once you have the Self Service app open, on the left side, scroll down to OS Updates. If your Mac can be upgraded, the Upgrade macOS policy will be visible.
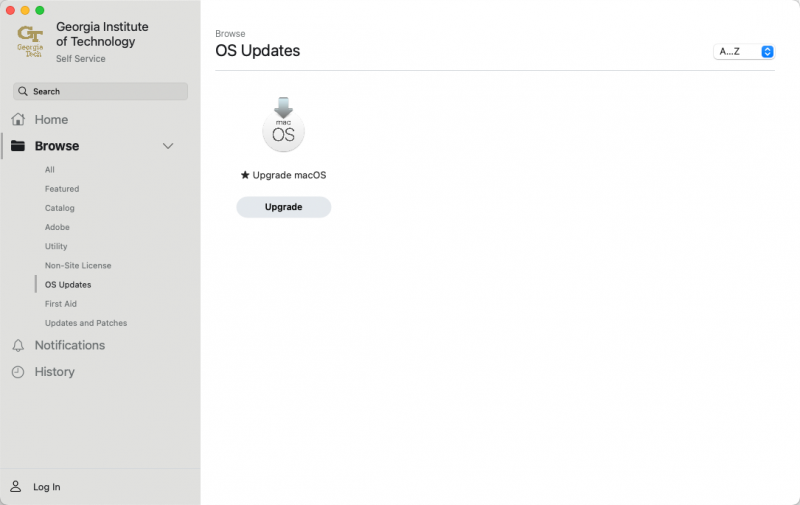
3. Click on the Upgrade button, and the app will start to install.

2. System Settings
The second way to upgrade macOS is through System Settings (prior to macOS 13, this was named System Preferences)
1. Open System Settings from Launchpad or Finder.

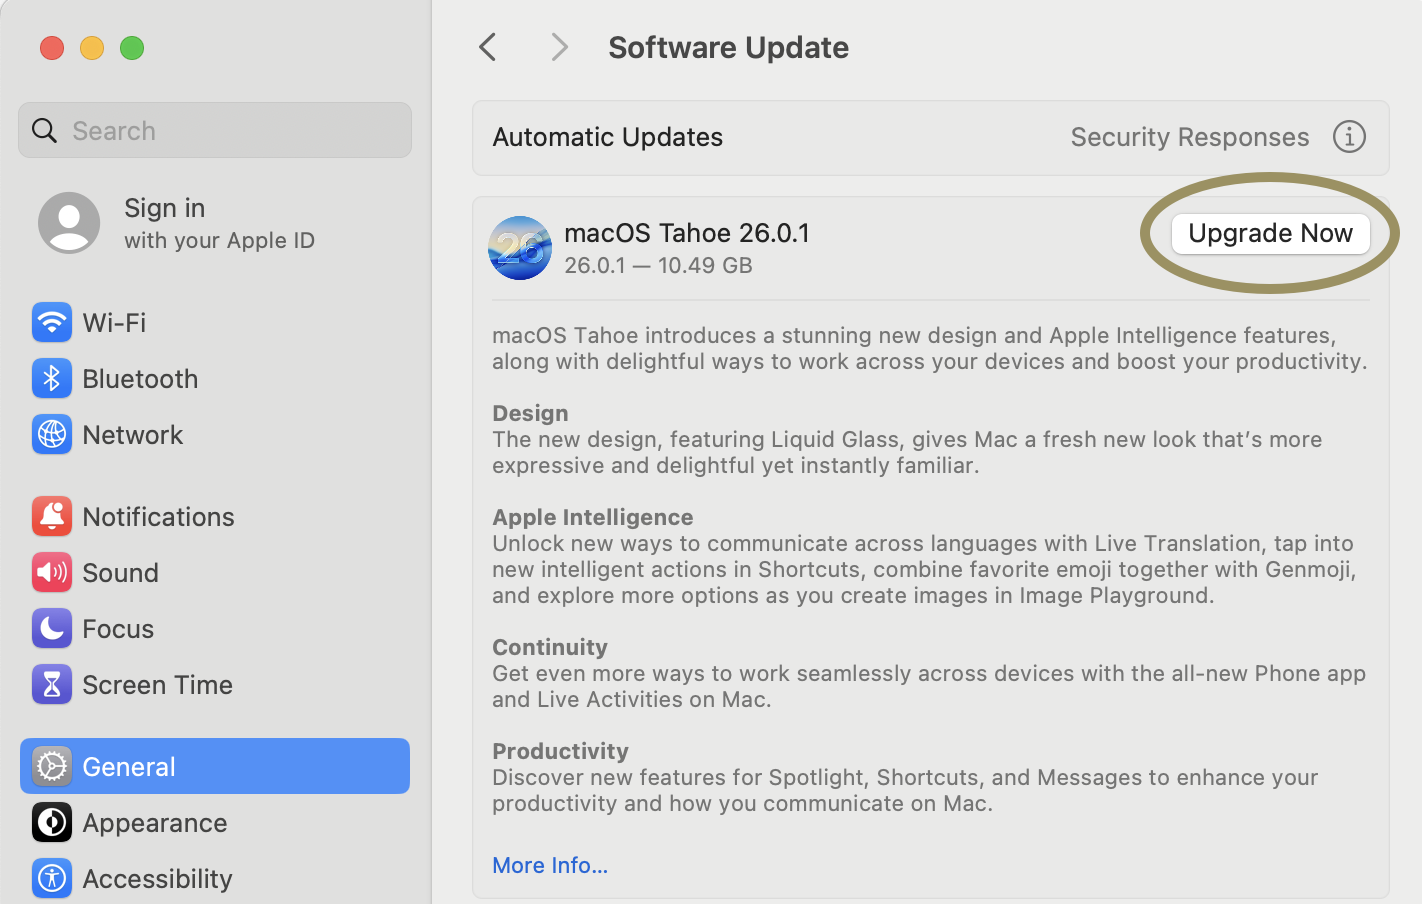
2. In System Settings, select General and then Software Update.

3. On the Software Update window, click the Upgrade Now button.